|
 Important Important
- Before proceeding with operation, read Par. 3.2.2.
|
|
CHECK
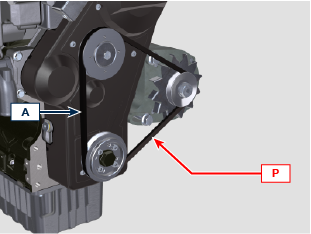
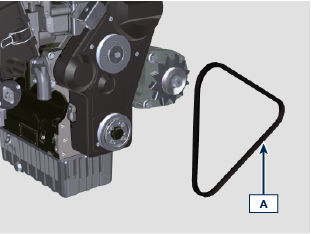
- Check the belt A condition, if worn out or deteriorated, replace it.
- The belt tension can be checked by applying a force of approx' 10kg on the point P. When correctly tensioned the belt must show a movement of less than 10 mm.
If not adjust it.
SETTING
- Loosen the fastening bolts B e C.
- Pull the alternator outwards to tension the belt A.
- Tension the belt A, screw the bolts B, C.
- Tighten bolts C, B in sequence (tightening torque 45 Nm [thread M10] - 25 Nm [thread M8]).
- The belt tension can be checked by applying a force of approx' 10kg on the point P. When correctly tensioned the belt must show a movement of less than 10 mm.
- Let the engine run for some minutes, then let it cool down at ambient temperature and repeat the operations of SETTING in case the belt tension results out of the above mentioned values.
|

|
|
REPLACEMENT
- Loosen the fastening bolts B e C.
- Replace the belt A.
- Pull the alternator outwards to tension the belt A.
- Tension the belt A, screw the bolts B, C.
- Tighten bolts C, B in sequence (tightening torque 45 Nm [thread M10] - 25 Nm [thread M8]).
- The belt tension can be checked by applying a force of approx' 10kg on the point P. When correctly tensioned the belt must show a movement of less than 10 mm.
- Let the engine run for some minutes, then let it cool down at ambient temperature and repeat the operations of SETTING in case the belt tension results out of the above mentioned values.
|
|


 Loading