 Important Important
|
Filling
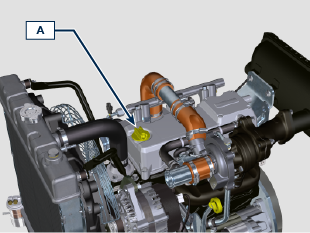
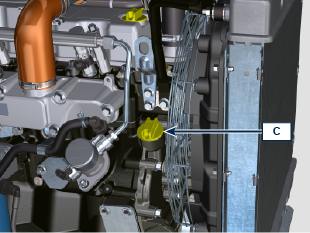
- Loosen the oil filler cap A or the oil filler cap C if the cap A is not accessible.
- Add the oil of type approved (Tab. 2.2).
|
|
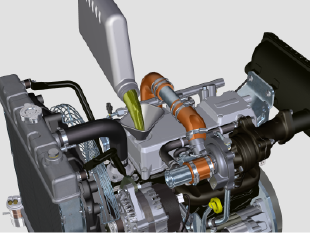
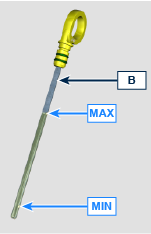
- Before checking oil engine needs to be level.
- Remove the oil dipstick B and check that the level is up to but does not exceed the MAX.
- If level is not at the MAX. level, add additional oil.
- Re-tighten the cap A, C.
|
  |
|
Oil level check
Perform the operations from point 3 to 6.
|
|
|
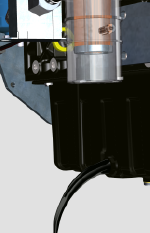
Oil replacement
NOTE: Perform this operation with warm engine, to get a better fluidity of the oil and get a full discharge of oil and impurities contained in it.
- Loosen the oil filler cap A or the oil filler cap C if the cap A is not accessible.
|
|
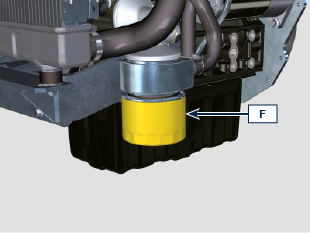
- Unscrew the oil filter F with appropriate wrench.
-
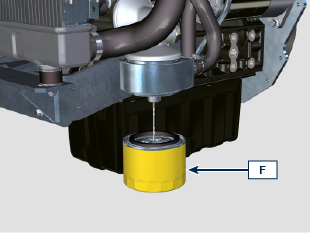
Assembly and tighten the new oil filter cartridge F (torque to 15 Nm).
|
|
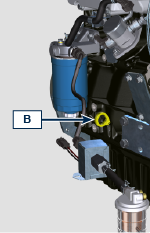
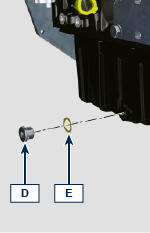
- Remove the oil dipstick B.
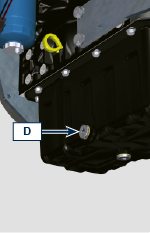
- Remove the oil drain plug D and the gasket E (the oil drain plug is on both sides of the oil sump).
- Drain oil in an appropriate container.
- Replace gasket E.
- Tighten the drain oil plug D (tightening torque at 35 Nm).
|
|
- Add the type of oil approved (Tab. 2.2).
- Fit and remove the oil dipstick B to check the level.
Pour in fluid until reaching the MAX level mark.
- Upon completion, reinstall the oil dipstick B completely.
- Tighten the cap A, C.
|
|


 Loading